Fix Gaps in Hand-Cut Dovetails Without Sawdust Glue
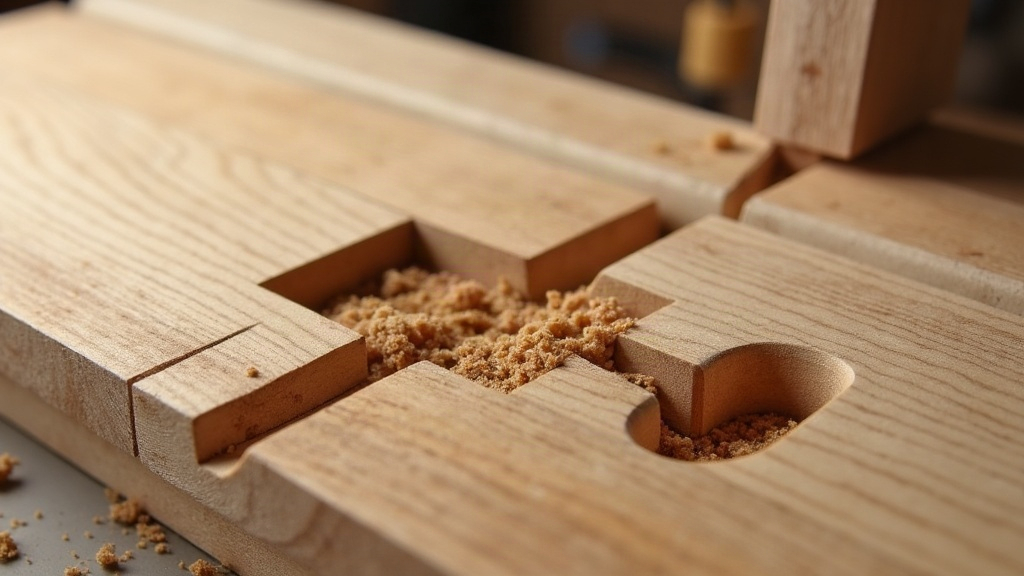
Every woodworker knows that sinking feeling: you drive home a fresh set of dovetails, step back, and there it is, an obvious gap staring right at you. Most beginners reach for the classic fix, wood glue mixed with sanding dust, and pack it into the crack. It’s cheap, it’s fast, and it almost never works. That paste doesn’t absorb finish the same way the surrounding wood does, so you end up with a dark, ugly smear right where you least want one. The good news? Fixing gaps in hand-cut dovetails without resorting to sawdust glue is exactly what separates the amateurs from the people who’ve actually put in the hours at a proper workbench.
Below are the repair methods that real craftsmen actually use: traditional, reliable, and (when done right) completely invisible.
Why Avoid the Sawdust and Glue Trick?
PVA mixed with dust feels like an easy patch, but it causes more headaches than it solves on fine furniture:
- Finish Rejection: PVA and polyurethane don’t take stain, oil, or clear coat the way real wood fibers do. You get streaky, plastic-looking patches that catch the light wrong.
- Color Mismatch: That glue-and-dust mixture almost always cures darker than the wood around it. Even a “perfect” color match while wet can dry two shades off.
- Textural Flaws: There’s no continuous grain running through a paste filler. Anyone who leans in close (and dovetails invite close inspection) will spot it in seconds.
The real fix isn’t filling the gap with paste. It’s filling it with actual wood.
Method 1: Grain-Matched Wood Shims (The Pro’s Choice)
If you’re staring at a cheek gap (a visible space between a pin and a tail), a tiny grain-matched shim is your best bet. Done carefully, it disappears entirely.
- Save Your Offcuts: Don’t toss the waste pieces from your pins and tails. That scrap is now your repair material, and it’s the only piece guaranteed to match your grain perfectly.
- Slice a Thin Wedge: With a sharp chisel or fine pull saw, shave off a wedge so thin it’s almost translucent. Line up the grain direction with the board you’re patching, not just eyeballed, actually match it.
- Glue and Drive: Dab just the tip in wood glue or hide glue (hide glue is traditional for a reason, it’s reversible if you botch it). Tap the shim into the gap with a small mallet, gently, until it seats snug.
- Pare it Flush: Once the glue’s fully cured (give it a real hour, not five minutes), take a razor-sharp paring chisel and slice the excess dead flush with the end grain. If your grain match was good, the joint line practically vanishes.
Method 2: Peening the End Grain
Got a hairline crack instead of an actual cavity? You don’t need to add material at all. You can just move the fibers that are already there. This is peening, and it works because wood compresses more easily than most people assume.
- Use a polished hammer: A cross-peen hammer with a clean, polished face works best. A dirty or pitted face will transfer grime straight into your workpiece.
- Mushroom the fibers: Tap lightly right along the edge of the gap, on the end grain of the pin or tail causing trouble.
- Swell the joint: Those light taps push the fibers outward so they mushroom into the void and close it up tight. Plane or sand the joint flush afterward and the gap is simply gone, with the bonus that the peened fibers now lock the joint even tighter than before.
Method 3: Swelling Compressed Fibers with Steam
Sometimes the gap isn’t from missing wood at all. It’s from crushed wood. Maybe you bruised a corner during a test-fit, or squeezed it too hard while chopping. The fibers are still there, just flattened, and that means you can bring them back with heat and moisture.
- Lay a damp cloth over the gap. Damp, not dripping.
- Press a hot soldering iron, or even a regular clothes iron, against the cloth right over the spot.
- The burst of steam drives into the crushed fibers and they swell back toward their original shape. It’s almost magic watching a gap you thought was permanent just close up on its own.
Method 4: The Kerf Trick for Baseline Gaps
Not every gap sits between the pins and tails. Sometimes it’s at the baseline, the shoulder of the joint, and that usually means a pin or tail bottomed out too early, or one of your saw cuts wasn’t quite square.
Rather than pulling the whole joint apart and guessing where to pare with a chisel (a good way to make things worse), try the kerf trick instead:
- Push the joint together as far as it naturally wants to go, don’t force it.
- Take your dovetail saw and run it straight down the cheek line, right where pin meets tail, stopping the instant you hit the baseline.
- Because a saw blade has a consistent thickness, that single kerf removes equal material from both mating surfaces, so they end up perfectly parallel.
- Tap the joint home once more. The shoulder should now sit flush, no gap, no drama.
Conclusion
Mistakes in joinery happen to everyone, even the pros with forty years of dust in their shop aprons. What actually separates a skilled hand from a beginner is the recovery, not the perfection. Grain-matched shims, end-grain peening, and a bit of steam will get you out of nearly every dovetail gap you’ll ever run into, no sawdust paste required. Learn these few tricks and your joints stay strong, look clean, and take a finish the way they’re supposed to.