How to Build a Micro-Workbench for Apartment Woodworking
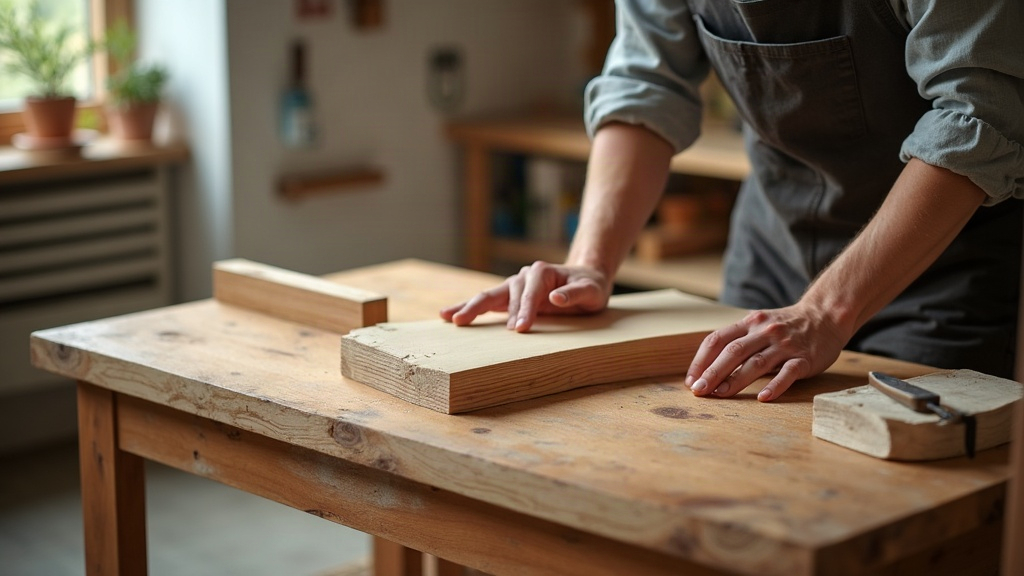
How to Build a Micro-Workbench for Apartment Woodworking
Living in an apartment doesn’t mean you have to shelve your love of building furniture and working with wood. No garage, no shed, no problem. Learning how to build a micro-workbench for apartment woodworking means you can set up shop in your living room or spare bedroom without anyone batting an eye. Below is a practical walkthrough for designing and building a compact, sturdy bench suited to small indoor spaces, hand-tool work, and the noise limits every apartment dweller knows too well.
Why Choose a Micro-Workbench?
Apartment woodworking runs into three walls fast: not enough space, dust that drifts everywhere, and neighbors who won’t tolerate a table saw screaming at 9pm. An eight-foot Roubo bench isn’t happening in a one-bedroom apartment, and firing up power tools regularly is a good way to get a note taped to your door.
A micro-workbench sidesteps all of that. Keep the footprint small, something like 24 by 36 inches works well, while still packing in enough weight and rigidity for serious hand-tool work. Since you’ll lean on hand planes, chisels, and hand saws rather than machines, the bench doesn’t need to be massive. It just needs to hold a board in a death grip and refuse to rock when you push a plane across it.
Key Design Principles for Small Spaces
Before you head to the lumberyard, a few things matter more than others when you’re building for an apartment:
- Mass is Mandatory: A lightweight bench will skate across a smooth apartment floor the second you lean into a plane stroke. Aim for a top that’s at least 2.5 to 3 inches thick. That weight is what keeps the whole thing planted.
- Optimal Workholding: Less surface area means every inch has to work harder. A front vise, a tail vise, and a grid of bench dog holes together let you lock down boards of nearly any size without wrestling them.
- Floor Protection: Apartment floors scuff and scratch easily, and landlords notice. Add thick rubber pads or leveling feet under the base to protect the flooring and soak up vibration.
- Portability: At some point you’ll need to shove this thing aside to vacuum or reclaim the room. A knock-down base, bolted together with heavy-duty hardware instead of glued permanently, makes that possible.
Materials and Tools Required
You don’t need a full machine shop humming in the corner. Here’s the actual shopping list:
Materials:
- Bench Top: 4-5 straight 2x4s (Southern Yellow Pine or Douglas Fir) laminated together, or three sheets of 3/4-inch MDF glued up as an easier, still-heavy alternative.
- Base: 4x4 posts for legs, 2x4s for stretchers.
- Hardware: Heavy-duty lag screws or bed bolts (if going knock-down), wood glue, and a 3/4-inch auger bit for dog holes.
- Vise: A 7-inch or 9-inch quick-release woodworking vise.
Tools:
- Hand saw (or a circular saw, if you can cut outside)
- Power drill and driver
- Hand plane (No. 4 or No. 5) for flattening the top
- Wood chisels and a mallet
- Bar clamps, at least four in the 36-inch range, for the top lamination
Step-by-Step Construction Guide
Step 1: Laminating the Heavy Top
Cut your 2x4s to length, say 36 inches. Stand them on edge and spread a generous bead of glue between each board. Clamp them up tight and walk away for 24 hours. Once the glue’s cured, flatten the surface with your hand plane. What you end up with is a dense, rigid slab, basically an anvil for your chisels and planes to work against.
Step 2: Constructing a Sturdy Base
Cut the 4x4 legs to whatever height suits your posture, usually somewhere between 34 and 36 inches off the floor. To keep the bench from swaying side to side, tie the legs together with thick stretchers. Mortise and tenon joints are the gold standard for strength, but honestly, overlapping half-lap joints glued and backed with lag screws hold up well and are far easier to pull off without a full shop setup.
Step 3: Attaching the Top and Hardware
Bolt (or glue, if you’re staying put) the top onto the base. If there’s any chance you’ll move apartments down the road, use threaded inserts and bolts instead of glue here. That way the whole bench breaks down into pieces you can carry through a doorway or load into a car.
Step 4: Adding Vises and Dog Holes
Install the front vise following the manufacturer’s directions. Then lay out a grid of 3/4-inch holes along the front edge of the top. These dog holes take bench dogs and holdfasts, and once they’re in place, your little bench suddenly becomes a real clamping station.
Tips for Woodworking in an Apartment
Bench built? Good. Now here’s how to keep the peace with everyone living below and beside you:
- Stick to Hand Tools: A hand plane throws off curly shavings you can sweep into a dustpan in thirty seconds. A router or orbital sander throws fine dust that settles on every surface in the room, including your lungs.
- Dampen Sound: Set a thick rubber anti-fatigue mat under the bench legs. It absorbs the thump of a mallet on a chisel and keeps that impact from traveling straight down through the floor to whoever’s watching TV below you.
- Manage Finish Odors: Skip the solvent-based stains and polyurethanes, they’ll stink up the whole apartment for days. Shellac, pure tung oil, or beeswax give you a solid finish with barely any smell, and they’re safe to use indoors.
Conclusion
Once you work out how to build a micro-workbench for apartment woodworking, a whole range of projects opens up that seemed impossible in a small space before. Focus on mass, smart workholding, and a base you can knock down when needed, and you’ll end up with a bench that would look at home in a real shop, tucked neatly into a corner of your apartment. Pick up a hand plane, clear a few square feet of floor, and get started on your indoor workshop.