Boring Perpendicular Dog Holes in a 3-Inch Roubo Top, No Drill Press
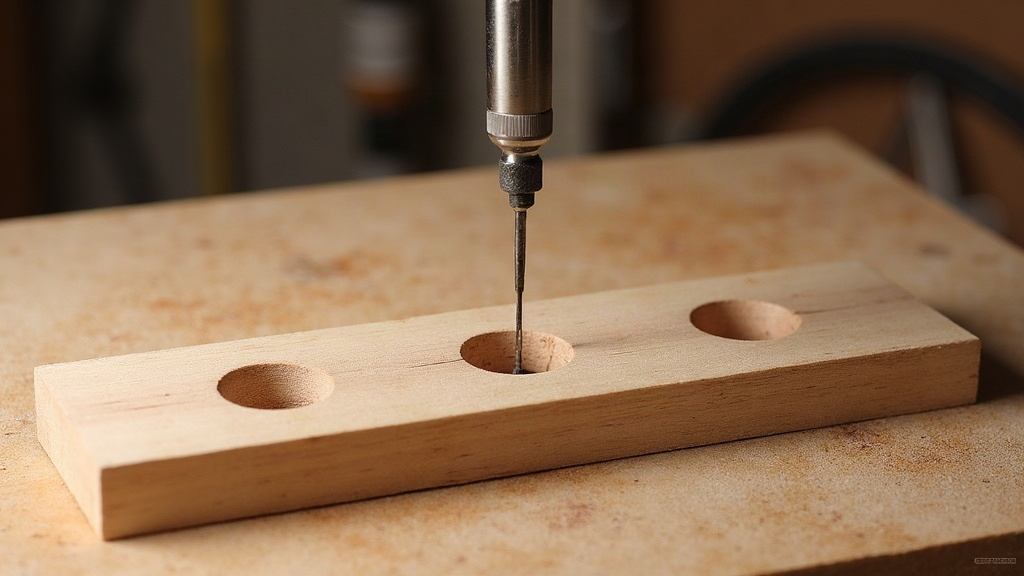
Why Perpendicularity Matters So Much
Dog holes hold bench dogs and holdfasts that register your work for planing, sawing, and joinery. If a hole leans even a few degrees off square, trouble follows:
- Bench dogs wobble and fail to grip stock securely
- Holdfasts won’t seat tight, so you lose clamping force
- Round dogs can bind or rock under load
On a thin top this barely shows. But on a 3-inch slab, a 2-degree tilt can walk the exit point over an eighth of an inch off target. That’s enough to throw off your whole dogging setup.
Why a Drill Press Usually Isn’t an Option
Most benchtop or floor drill presses just don’t have the daylight (the gap between chuck and table) or throat depth to handle a slab that’s several feet long and 3 inches thick. And even when the chuck technically clears the material, good luck wrestling a half-finished, 80-pound benchtop around a drill press table without scratching something or throwing your back out. That’s the real reason most Roubo builders drill their dog holes with a hand-held drill or a brace and bit, guided by a jig, either before or after glue-up.
The Core Solution: A Site-Built Doweling/Boring Jig
The most dependable fix is a simple shop-made jig that steers a long auger or self-feed bit straight down through the slab. No fancy hardware needed, just a square block and some patience.
1. Build a Right-Angle Guide Block
Grab a scrap of hardwood at least 4 inches thick and joint two faces dead square to each other. Drill a test hole through it on a drill press. Here’s the trick: you only need drill-press-level accuracy once, on this small block, not on the whole benchtop. This becomes your guide block, basically a short tube of guaranteed-true perpendicularity.
2. Clamp the Guide to the Benchtop
Set the guide block exactly where the dog hole needs to go, clamp or screw it down tight, and use it to steer your hand drill or brace. Since the hole in the block is already true to the surface, your bit just rides along inside it and goes straight down. No guesswork, no eyeballing.
3. Drill in Stages with a Long Auger Bit
Use a long auger bit (3/4” is typical for standard round dogs) rated for deep boring:
- Drill from the top partway through, pulling the bit out every inch or so to clear chips
- Flip the slab and finish from the bottom, meeting your first hole in the middle. This avoids blowout on the far face and stops the bit from wandering over such a long bore
- Keep the guide block clamped on both faces for every pass, top and bottom
Alternative Methods Worth Knowing
Doweling Jigs and Self-Centering Guides
Commercial doweling jigs with drill guide bushings are fine for smaller diameters, but most bushings are too short to guarantee true alignment across a full 3-inch depth. Think of them as a secondary check rather than your main method.
Drilling Before Glue-Up
A lot of builders drill dog holes into individual slab laminations before glueing up the benchtop. Each lamination might only run 3/4” to 1-1/2” thick, well within reach of a handheld drill or even a cheap portable drill press. Line them up correctly during clamping and glue-up, and the holes match perfectly once assembled. This sidesteps the whole “3-inch problem” from the start.
Using a Plunge Router with a Long Straight Bit
For dog holes under an inch, some woodworkers rough the hole out with a long straight bit in a plunge router, referencing a fence or template, then finish the final depth with a bit extension chucked into a brace.
Laser Level or Angle Finder Checks
No matter which method you pick, check perpendicularity as you go, not just at the end:
- A small torpedo level with a square attachment resting against the bit or shaft
- A laser level projecting a vertical reference line next to the drill
- A plain engineer’s square held against the bit from two directions (front-to-back, then side-to-side)
Practical Tips for Clean Results
- Pre-drill a pilot hole with a short bit to nail down the center before switching to the long auger.
- Clamp the guide block firmly. Any shift mid-drill and your perpendicularity is gone.
- Go slow and back out often to clear chips. Auger bits bind and burn fast in deep hardwood, especially maple or white oak.
- Mark both faces before drilling from either side so the meet-in-the-middle holes actually line up.
- Test on scrap of the same thickness first. A few minutes dialing in bit speed and feel saves you from ruining your real benchtop.
Conclusion
You don’t need a drill press to bore clean, perpendicular dog holes in a thick Roubo benchtop. What you need is a reliable reference point. A simple shop-built guide block, a long auger bit, and a patient two-sided drilling approach will get you holes as true as anything a machine could cut. For extra insurance, drill through the individual laminations before glue-up whenever your build sequence allows it, it’s genuinely the easier path. With a little patience and the right jig, your bench dogs and holdfasts will seat tight for decades of real work.