Steam Bending vs Kerf Bending for Curved Ash Chair Backs
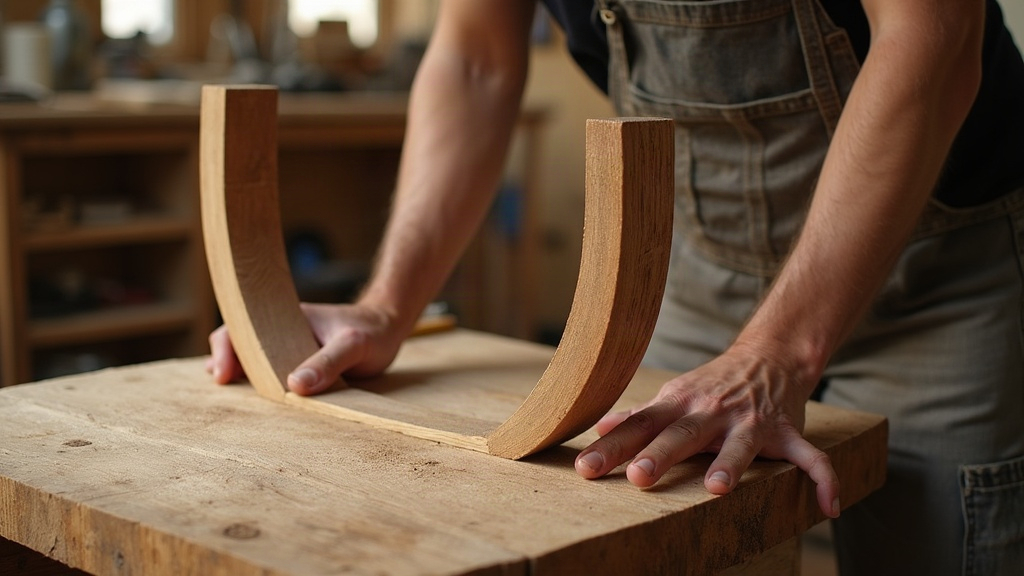
Why Ash Is the Benchmark Wood for Curved Backs
Ash has long, straight fibers, moderate density, and a springiness that few domestic hardwoods can match. That’s precisely why Windsor and ladder-back chairmakers have leaned on it for generations. Put it next to oak or maple and ash bends with fewer fiber ruptures, and it doesn’t spring back as aggressively once you release the clamps, which means the curve you shaped actually stays the curve you shaped. Both bending methods work fine on ash, but steam bending in particular rewards the wood’s natural give. You’re working with the grain, not fighting it.
Steam Bending: The Traditional Approach
Steam bending softens the lignin (think of it as the wood’s internal glue) using moist heat around 200°F (93°C). Once that bond loosens up, the fibers can flex without snapping.
Process Overview
- Mill a straight-grained ash blank, free of knots, down to finished thickness.
- Steam it for about an hour per inch of thickness, inside a sealed steam box.
- While it’s still hot and pliable, clamp it into a bending form. A metal strap on the convex face is standard practice; it keeps the outer fibers from tearing apart under tension.
- Leave it in the form 24 to 48 hours before you release it. Rush this step and the wood will relax back toward straight.
Advantages
- Continuous grain runs the full length of the curve, which gives the chair back real resistance to racking and lateral stress, exactly the forces a daily-use chair back absorbs.
- Cleaner, seamless look. No visible cut lines. If you’re going for a Windsor silhouette or anything sculptural, this matters.
- Thinner stock becomes viable, since the flex comes from the wood itself rather than from glue or kerf cuts doing the work.
Drawbacks
- You need a steam box, forms, and straps. For a one-off chair, that’s a meaningful upfront investment.
- Knotty or twisted grain tanks your success rate fast. Even with solid technique, expect a blank or two to crack on you.
- It’s slow. Between steaming, clamping, and drying, you can lose several days just waiting.
Kerf Bending: The Practical Shortcut
Kerf bending (sometimes called kerf-cutting) means making a series of closely spaced saw cuts along the inside face of the curve, removing just enough wood that the piece can flex into shape cold, no steam required.
Process Overview
- Figure out kerf spacing and depth based on the radius you want. Tighter curves demand cuts that are closer together and deeper.
- Cut the kerfs on a table saw or with a router jig, leaving a thin skin of uncut wood on the outer face.
- Bend the piece around a form, pack the kerfs with glue, and often back it with bending plywood or veneer for added rigidity.
- Clamp and let it cure.
Advantages
- No exotic equipment. A table saw and some clamps get you there, which makes this approachable for a home shop.
- Fast. There’s no steaming, no multi-day drying window.
- More tolerant of imperfect grain, since you’re cutting straight through the trouble spots anyway.
Drawbacks
- Lower structural strength overall. Each kerf is a stress concentration point, and part of the bend’s integrity depends on the glue holding, not the wood.
- The kerf lines are visible on the inside face, so you’ll typically need to cover them with veneer, a backing strip, or upholstery.
- Over years of flexing under someone leaning back in the chair, those glue lines are the first thing to fail.
Side-by-Side Comparison
| Factor | Steam Bending | Kerf Bending |
|---|---|---|
| Strength | High (continuous grain) | Moderate (glue-dependent) |
| Tooling cost | High (steam box, forms, straps) | Low (table saw, clamps) |
| Skill curve | Steep | Gentle |
| Visual finish | Seamless | Needs covering/veneer |
| Build time | Slower (days) | Faster (hours) |
| Best curve type | Gentle to moderate | Tight radii |
Which Should You Choose?
- Go with steam bending if you’re building heirloom-quality chairs meant to take decades of daily use, or if the curve is a visible design feature that won’t be hidden under upholstery.
- Go with kerf bending if you need a radius tight enough that steam bending can’t realistically pull it off, you’re still prototyping, or you simply don’t have bending equipment on hand.
- Try a hybrid: plenty of chairmakers steam-bend the main crest rail (where strength and looks both count) and kerf-bend secondary pieces like arm supports, getting the best of both without blowing the budget.
Common Mistakes to Avoid
- Skipping grain inspection. Even a perfectly steamed piece of ash will split if the grain runs diagonally through the blank.
- Under-steaming thick stock. The surface softens but the core stays stiff, and you end up with checking on the outer face when it finally bends.
- Spacing kerf cuts too far apart, which leaves you with flat spots instead of a true, smooth curve.
- Forgetting to seal the end grain on steam-bent pieces before they dry. Uneven moisture loss there is a reliable way to end up with warping you didn’t plan for.
Conclusion
For curved ash chair backs, steam bending is still the standard when strength and a seamless look are non-negotiable. Kerf bending earns its place as the faster, cheaper route, especially for tight curves or quick builds where perfection isn’t the goal. Pick the method based on how durable the piece needs to be, what tools you actually have, and what you want it to look like in the end. Walk into most professional shops and you’ll find both techniques in use, each one doing the job it’s actually good at.