Concealing Plywood Edges with Solid Wood Banding, No Brad Nailer
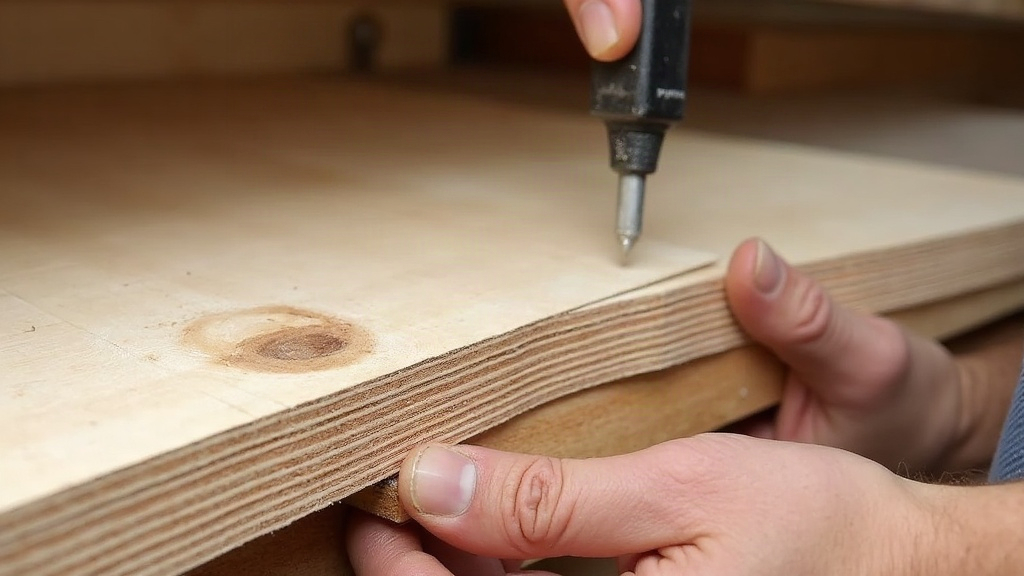
Plywood’s ugliest giveaway is the edge. That striped sandwich of veneer layers screams “sheet goods” the second anyone looks closely, instead of reading as solid wood. The usual fix is gluing on a thin strip of solid wood banding and pinning it down with a brad nailer. But what if you don’t own one? Or you don’t feel like filling tiny nail holes afterward? Or you’re building something where even a hairline pinhole would stick out like a sore thumb? Here’s the good news: you can get a flawless, furniture-grade edge using nothing more than glue, clamping pressure, and a little patience.
Why Skip the Brad Nailer?
Brad nailers are quick, sure, but they come with real trade-offs:
- Nail holes need filling. Even 23-gauge pins leave a mark. You’ll end up puttying and sanding it, and that filler can telegraph through stain later, especially on darker finishes.
- Risk of blowout. Thin banding, 1/8” or less, can split or crack under a brad, particularly near the ends where there’s less material to absorb the shock.
- Not everyone owns one. A nailer plus compressor is a legitimate investment if you’re only building cabinets a few times a year.
- Clamps alone are often stronger anyway. A well-clamped glue joint, long-grain-to-long-grain, is frequently stronger than the plywood itself. So why add a fastener you don’t need?
Materials You’ll Need
- Solid wood edge banding strips (pre-cut veneer tape or shop-ripped solid strips, typically 1/8” to 1/4” thick)
- Wood glue (yellow PVA works fine; Titebond III if you need moisture resistance)
- Painter’s tape or masking tape
- Spring clamps, bar clamps, or rubber bands (handy for curved or small pieces)
- A block plane or flush-trim router bit for final trimming
- Sanding block (120 to 220 grit)
Method 1: Tape-and-Clamp (Best for Straight Edges)
This is the most reliable no-nail method for standard cabinet door edges, shelves, and panels. It’s basically what I reach for 90% of the time.
- Cut banding oversized. Rip strips about 1/8” wider than the panel thickness and a bit longer than the edge itself. You’ll trim it all flush later, so don’t stress over a perfect fit now.
- Dry-fit first. Lay the strip against the edge without glue. Check for gaps, check for bowing, confirm it actually sits flat.
- Apply glue evenly. A thin, even coat on both the plywood edge and the banding strip gives you a better bond and less messy squeeze-out.
- Use masking tape as a clamp. Press the strip into place, then wrap painter’s tape every 3 to 4 inches along the length, pulling it tight as you go. The tape’s elasticity gives you surprisingly even pressure across the whole joint, almost like a dozen tiny clamps working at once.
- Add spring clamps at the ends. End grain lifts first, almost every time, so reinforce there.
- Let it cure fully. Thirty to forty-five minutes gets you a solid initial set, but leave it overnight before trimming if you can. Patience pays off here.
Method 2: Veneer Tape with an Iron (Best for Thin Banding)
If you’re working with true veneer edge banding (paper or fleece-backed), a household clothes iron is a nail-free, glue-free shortcut:
- Set the iron to medium-high heat, no steam.
- Press the banding onto the plywood edge, moving slowly so the heat activates the hot-melt adhesive backing underneath.
- Rub it down immediately with a wood block or roller, seating the bond before it has a chance to cool.
- Once cool, trim the overhang with a veneer trimmer or a sharp utility knife.
This bonds in seconds flat and leaves zero fasteners behind. The catch: it only works with pre-glued veneer tape, not raw solid wood strips.
Trimming and Finishing
Once the glue has fully cured:
- Use a sharp block plane, working from the panel face toward the edge so you avoid tear-out, or grab a flush-trim router bit with a bearing guide if you want speed and consistency.
- Sand progressively, 120 up to 220 grit, and ease the sharp edges slightly so the banding doesn’t chip the first time something bumps into it.
- Wipe with a damp cloth before staining. This raises the grain early and shows you exactly how that glue line is going to look once finish hits it.
Common Mistakes to Avoid
- Skipping the dry-fit. Glue squeeze-out is a nightmare to manage if the strip wasn’t sitting flush to begin with.
- Under-clamping end grain. Ends are the first spot a glue-only joint fails. Throw extra clamps there, every time.
- Trimming too soon. Cut before the glue’s fully cured and you risk shifting or cracking the bond you just worked so hard on.
- Using too much glue. Excess squeeze-out can actually starve the joint, leaving you with a weak glue film instead of real wood-to-wood contact.
Conclusion
You really don’t need a brad nailer to get a clean, durable, nail-hole-free plywood edge. Tape-and-clamp for solid wood banding, or iron-on for veneer tape, either works. The trick is even glue coverage, enough clamping time, and a careful flush-trim at the end. Do it right and the edge is indistinguishable from solid wood, and that’s one less tool cluttering up your shop.