Resawing 8/4 Hardwoods on a 14-Inch Bandsaw: The Ultimate Guide
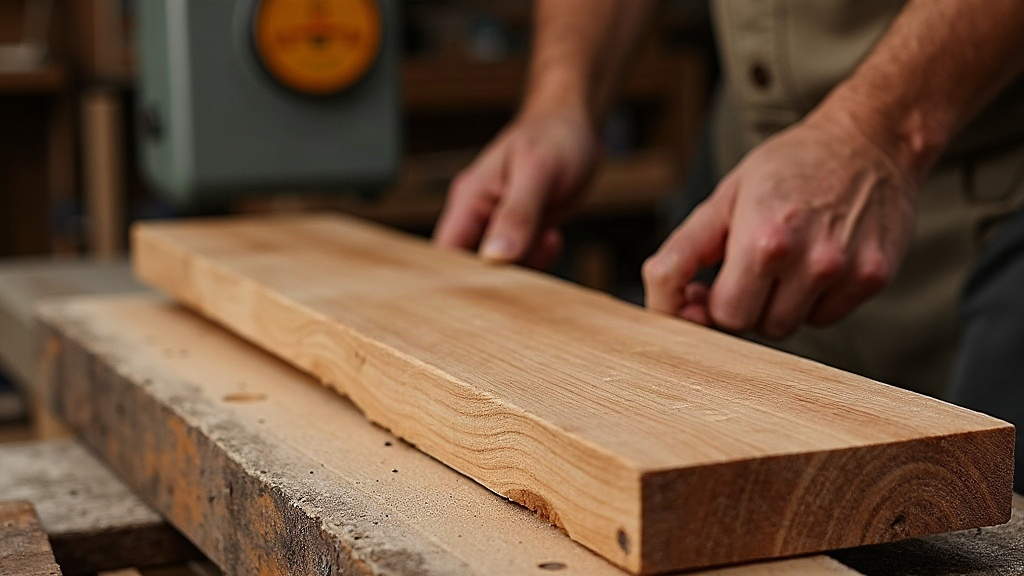
Resawing 8/4 Hardwood on a 14-Inch Bandsaw: A Practical Setup Guide
Yes, you can resaw two-inch-thick hardwood on a basic 14-inch bandsaw. No need to drop three grand on an industrial resaw. But you can’t just throw a board at it and hope for the best. Blade choice, tension, feed rate, all of it has to be dialed in. This guide walks through the exact setup that lets a stock 14-inch saw turn out book-matched veneers and thin panels from thick, stubborn stock like maple, walnut, and white oak.
Why 8/4 Stock Pushes a 14-Inch Saw to Its Limits
Most 14-inch bandsaws come out of the box with about 6 inches of resaw capacity. When you’re cutting through 1.75 to 2 inches of dense fiber in one pass, three things take the hit simultaneously:
- Motor power. Stock saws usually run 3/4 to 1 HP motors. Push one through hard maple or hickory and it’ll bog down fast.
- Blade tracking. A thin blade wants to wander, what woodworkers call “drift,” especially over a long cut.
- Guide stability. Factory guide blocks often can’t brace the blade properly when the cut height gets tall.
None of this means you need a new machine. It just means setup matters a lot more here than on a quick rip cut.
Step 1: Upgrade to a Riser Block (If You Haven’t Already)
If your saw tops out under 9” of resaw capacity, get a riser block kit. It lifts the upper wheel and frame, giving you more blade length (so wear and heat spread out) and more headroom for wider boards. Most 14-inch saws, the Delta-style clones in particular, have aftermarket riser kits running $40 to $80. Worth every penny if you’re serious about resawing.
Step 2: Choose the Right Blade
This is the single biggest factor in whether your resaw comes out clean or comes out garbage.
- Width: Go as wide as your saw and wheels allow, typically 3/4” to 1”. Wider blades resist flexing and hold a straighter line through thick stock.
- TPI (teeth per inch): Stay low, 2 to 4 TPI. Bigger gullets clear sawdust faster, which keeps heat down and stops burning in dense hardwoods.
- Blade type: Hook-tooth or skip-tooth, carbon or bi-metal. Skip the fine-tooth blades meant for curves or plywood; they’ll choke on this kind of cut.
Step 3: Set Tension and Tracking Properly
An under-tensioned blade flexes and drifts in a thick cut, no way around it. Tension to the manufacturer’s spec for your blade width. The tension scale printed on the saw is often wrong, so double-check with a tension gauge if you’ve got one. Then:
- Spin the wheel by hand and adjust tracking until the blade rides centered on the tire.
- Set the guide blocks (or bearings) close, paper-thin gap, without actually touching the blade.
- Position the thrust bearing just behind the blade so it only engages under cutting pressure.
Step 4: Build or Buy a Resaw Fence (and Account for Drift)
Even a perfectly tuned blade will drift a few degrees off a true 90° line. Trying to force it straight with a standard rip fence is a losing battle. Instead:
- Make a freehand test cut along a pencil line on a scrap board.
- Stop halfway through and mark the blade’s actual angle against the miter slot.
- Set your resaw fence (or build an angled “drift fence,” ideally with just one tall point of contact) to match that angle.
A tall fence, 6 inches or more, gives the board real support and keeps it from tipping mid-cut.
Step 5: Feed Rate and Technique
- Feed slowly, and keep it steady. Rushing is the number one reason cuts come out bowed or scorched.
- Keep even pressure against the fence with your trailing hand. Guide the board, don’t muscle it through.
- Switch to a push block or push stick as you get close to the blade.
- On boards wider than 6”, try cutting partway from both edges (flip-and-cut) to cut down the depth per pass. This helps a lot in brutal species like osage orange or ipe.
Common Problems and Fixes
| Problem | Likely Cause | Fix |
|---|---|---|
| Barrel-shaped cut (bowed center) | Feeding too fast, dull blade | Slow down, resharpen or replace blade |
| Burning on one face | Blade rubbing, low tension | Increase tension, check guide alignment |
| Blade wandering mid-cut | Drift not accounted for | Re-set fence angle using drift test |
| Saw bogging down | Underpowered motor, dull blade | Reduce feed rate, upgrade blade, check belt tension |
Finishing the Cut
Once the boards come off the saw, plan on a trip through the planer (or some hand-planing, if you’re old school) to clean up saw marks and even out thickness. Even a dead-on resaw leaves a textured surface, that’s just physics. Budget 1/16” to 1/8” of material for cleanup when you figure your target thickness, otherwise you’ll end up thinner than you planned.
Final Thoughts
Resawing 8/4 hardwood on a 14-inch bandsaw comes down to a handful of things done right: the right blade width and tooth count, proper tension, compensating for drift, and feeding with patience instead of force. Add a riser block, a sharp wide blade, and a solid resaw fence, and a basic 14-inch saw can turn out clean, book-matched slabs all day long. No industrial machine required.