Food-Safe End Grain Cutting Boards From Hardwood Scraps Under 4"
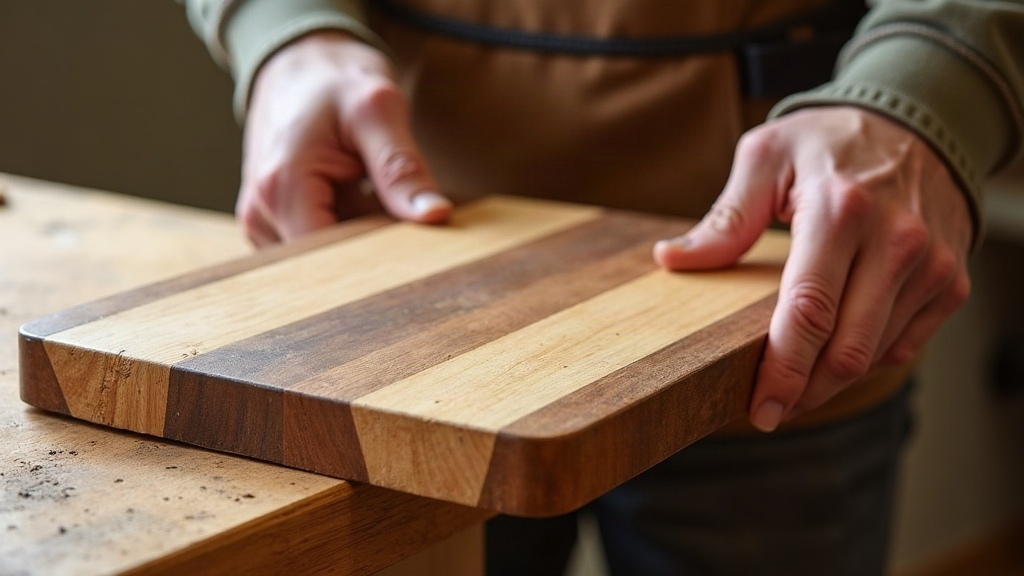
If you’ve got a bin full of hardwood offcuts under 4 inches long, you’ve basically got a cutting board waiting to happen. This guide covers picking safe wood species, cutting and arranging those small scraps into an end grain pattern, gluing everything with food-safe adhesive, and finishing it off with an oil-and-wax blend that’ll hold up for years. The scraps most shops toss in the burn pile can become a functional kitchen heirloom instead.
Why End Grain Boards Are Perfect for Scrap Wood
End grain boards are built by standing wood pieces on their end, so you’re looking at the grain the way you’d look at the top of a tree stump. It’s a striking look on its own, but there’s a practical reason too: the fibers separate and close back around a knife edge instead of getting sliced straight across, which means less dulling over time. Here’s the part that matters most if you’re a scrap hoarder: end grain construction doesn’t need long boards at all. Pieces anywhere from 1.5 to 4 inches work great, which makes this the single best use for cutoffs that would otherwise end up as kindling.
Choosing Food-Safe Hardwoods
Not every hardwood scrap earns a spot on a cutting board. You want closed-grain, non-toxic species with a Janka hardness rating above 900:
- Maple (hard maple/sugar maple) - the gold standard here. Tight grain, light color, and it has some naturally antibacterial properties to boot.
- Walnut - a rich, dark tone. Slightly softer than maple but still plenty durable.
- Cherry - warm color when fresh, and it deepens nicely with age.
- Beech - dense and closed-grain, the wood European kitchens have relied on for generations.
Steer clear of softwoods like pine or cedar, oily exotics like teak or rosewood (some people react to these in finishes), and anything open-pored like oak or ash. Open pores trap bacteria and liquid, which is exactly what you don’t want on something you’re chopping onions on.
Prepping Your Scraps
- Sort by thickness - group your scraps by similar board thickness (typically ¾” to 1”) so the final glue-up ends up flat instead of wavy.
- Square every piece - run them through a jointer and planer, or hand-plane true edges if that’s what you’ve got. Even a piece the size of a deck of cards needs perfectly square faces, or your glue lines will show gaps.
- Rip into strips - cut your squared stock into strips roughly 1” to 1.5” wide.
- Cross-cut into blocks - slice those strips into short end-grain blocks. This is exactly where your sub-4-inch scraps earn their keep; you just need enough blocks to cover your target board size.
Arranging the Pattern
Lay everything out on your bench before you touch the glue bottle. A few approaches that work well:
- Checkerboard - alternating light (maple) and dark (walnut) blocks.
- Random mosaic - mixed species and grain directions for a more rustic, organic feel.
- Pinwheel accents - rotate a handful of blocks 90 degrees to break up the pattern visually.
Dry-fit the whole thing first and take a photo with your phone. Trust me, once the glue starts setting up, things move fast and that photo becomes your map.
Gluing: Use a Food-Safe Adhesive
Reach for a waterproof, FDA-approved wood glue, Titebond III is the standard choice. Skip construction adhesives or anything not rated for food contact; this isn’t the place to improvise. Glue in stages:
- Glue strips into sub-blocks, clamp them, and let them cure fully (at least an hour, overnight is better).
- Cross-cut the cured sub-blocks into end grain rows.
- Glue the rows together into your final checkerboard slab, using cauls and even clamp pressure to keep everything square.
Flattening and Shaping
Once cured, flatten both faces with a drum sander, wide-belt sander, or router sled. Don’t bother trying to hand-plane end grain; it’s rough going and you’ll likely tear out chunks. Round over the edges with a 3/8” roundover bit, both for comfort in the hand and to cut down on chipping down the road. Sand progressively, 120, then 150, 180, 220, and finish at 320 grit for a surface that feels genuinely silky.
Food-Safe Finishing
Never, ever reach for polyurethane, lacquer, or anything not rated for food contact. Instead, use:
- Mineral oil - pure, food-grade (USP) mineral oil, applied generously and left to soak in for a few hours, then wiped clean.
- Board cream/wax blend - mineral oil mixed with beeswax at roughly a 4:1 ratio. This gives you a protective top coat that beads water nicely.
Go heavy on the oil for the first several uses, then keep up a monthly routine (weekly if the board sees daily action).
Care Tips for Longevity
- Hand wash only. An end grain board in a dishwasher is asking for trouble, the heat and prolonged soaking will warp and crack it.
- Dry it standing up so air can reach both faces.
- Re-oil the moment the wood starts looking dry or pale.
- Sand out deep knife grooves every once in a while, then re-oil.
Conclusion
Building an end grain board from scraps under 4 inches isn’t just a cheap way into woodworking, it’s genuinely a better approach. You’re using material that would’ve been wasted anyway, and the result holds up to knives and finishes better than most store-bought boards. Get the species right, use real food-safe glue, flatten it carefully, and finish it with mineral oil the way it’s meant to be done, and that scrap bin of yours turns into the centerpiece of somebody’s kitchen counter.