Why Your Table Saw Burns Cherry Wood and Exactly How to Stop It
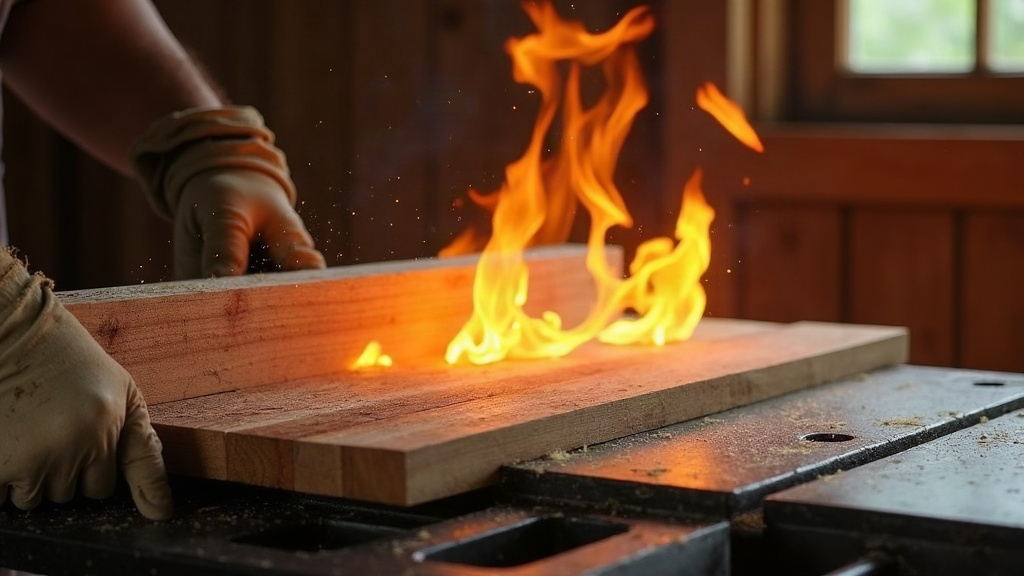
If your table saw keeps leaving those dark, scorched streaks on cherry, nine times out of ten it’s heat buildup from friction. Usually it’s a dull or gunked-up blade, a feed rate that’s too timid, or a saw that’s not tracking quite straight. Cherry has a reputation for burning faster than oak, maple, or pine, and that’s down to its dense grain, high sugar content, and habit of trapping resin right against the blade. The upside? Once you pin down what’s actually causing the friction, burn marks are almost entirely avoidable.
Why Cherry Wood Burns More Than Other Species
Cherry has a few quirks that make it especially prone to scorching:
- High sugar/resin content. Cherry’s natural sugars caramelize under heat, and that’s literally what those brown-black marks are.
- Tight, fine grain. It puts up more resistance to the blade than an open-grained wood like oak does.
- Softer than it looks. Cherry is only a mid-density hardwood, so it’s tempting to feed it slowly and carefully, which backfires: the blade spends more time rubbing instead of shearing cleanly through the fibers.
Once you know this, it makes sense why a blade and saw setup that cuts maple beautifully can leave your cherry board looking singed.
The Real Causes of Table Saw Burn Marks
1. A Dull or Gummed-Up Blade
This is culprit number one, hands down. A dull blade doesn’t slice fibers, it crushes and drags them, and that friction turns straight into heat. Pitch and resin caked onto the teeth and body only make it worse, adding drag even to a blade that’s technically still sharp.
Fix: Clean the blade with a dedicated blade cleaner, or just degreaser and warm water, then check the teeth under a bright light for dullness, chips, or carbide wear. If it’s been more than 200-300 board feet since the last sharpening, either send it out or drop in a fresh one.
2. Feed Rate Too Slow
Here’s the part that trips people up: pushing wood through too slowly burns worse than pushing it too fast. A slow feed gives every tooth extra dwell time against the wood, which builds heat instead of clearing chips.
Fix: Feed at a steady, confident pace. You want a consistent, slightly aggressive cutting sound, not a whine, and not that bogged-down groan that means the blade is struggling.
3. Blade Not Parallel to the Miter Slot (Alignment Issues)
Even a small misalignment between the blade and the miter slot or fence means the back of the blade rubs the wood after the cut is already made. That shows up as heat and burn streaks, often right near the end of the cut.
Fix: Check blade-to-miter-slot alignment (some call this “tuning the saw,” or checking for parallelism). Most saws should be dialed in to within 0.005” or tighter. A dial indicator works well, or you can confirm it with a simple test cut and calipers.
4. Fence Not Parallel to the Blade
If the fence angles even a hair toward the blade, it’ll pinch the board as it exits the cut. That pinch means drag, and drag on the outfeed side means burning.
Fix: Measure from the fence to the blade at both the front and back of the table. Those two numbers need to match. If they don’t, adjust the fence rails until they do.
5. Wrong Blade for the Material
General-purpose combo blades with low tooth counts (24-40T) can scorch dense, tight-grained hardwoods like cherry, particularly on rip cuts.
Fix: For cherry, go with a quality 40-60 tooth combination or crosscut blade with a high-ATB (alternate top bevel) grind. Thin-kerf blades cut friction down further, and a negative hook angle helps keep heat under control on hard, close-grained species.
6. Cutting Too-Thick Stock Without Enough Blade Clearance
Set your blade too low relative to the stock thickness, and you’re rubbing more of the blade’s body, not just the teeth, against the wood. That body contact generates heat fast.
Fix: Set the blade height so the gullets clear the top of the workpiece by roughly 1/8” to 1/4”. That’s enough for good chip clearance without exposing more blade than necessary.
Quick Checklist Before Your Next Cut
- ✅ Blade cleaned and sharp
- ✅ Blade parallel to miter slot
- ✅ Fence parallel to blade
- ✅ Correct tooth count/grind for cherry
- ✅ Blade height set properly
- ✅ Steady, confident feed rate
What To Do If You Already Have Burn Marks
Light scorching sands out fine, start at 120-grit and work your way up. Deeper burns might need a card scraper or a light pass with a hand plane before sanding even makes sense. Going forward, try a sacrificial backer board on crosscuts. It cuts down tear-out and reduces heat right at the exit point.
Conclusion
Burn marks on cherry aren’t some random curse, they’re a predictable outcome of friction: a dull blade, misalignment, the wrong feed rate, or a blade poorly matched to the material. Run through the checklist above, starting with blade sharpness and alignment since those two cause the most trouble, and you’ll get clean, scorch-free cuts even out of the most temperamental cherry stock.