Dewaxed Shellac as a Sanding Sealer Under Water-Based Polyurethane
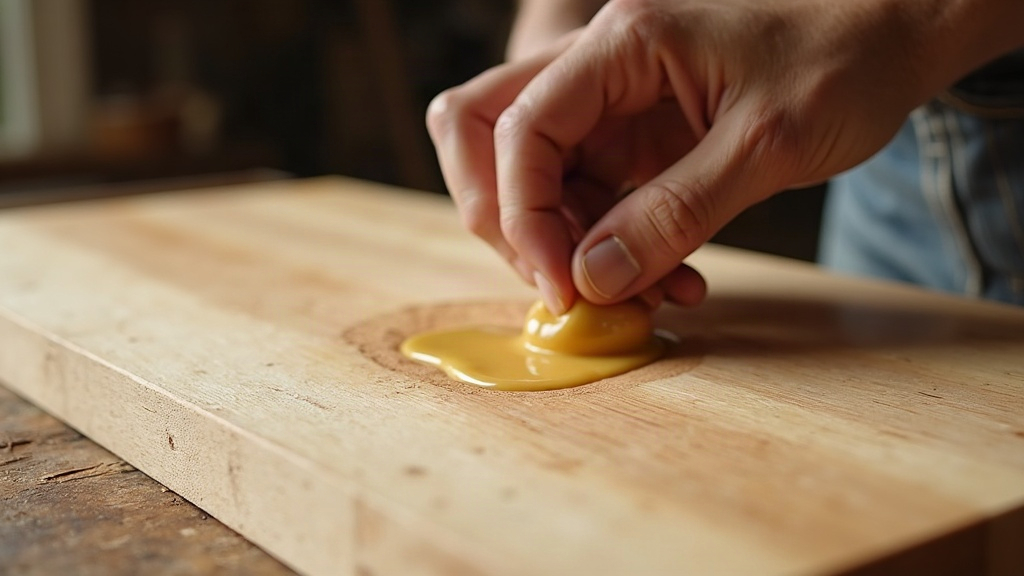
Dewaxed shellac works as an excellent sanding sealer under water-based polyurethane. It dries fast, sands down to a fine powder, blocks blotching and tannin bleed, and bonds reliably to almost any topcoat, provided the wax has actually been stripped out. Put the two together and you get the warmth and depth shellac is known for, plus the toughness and clarity of a modern waterborne finish riding on top.
Why Use Shellac Under Water-Based Polyurethane?
Water-based polyurethane earns its reputation for low odor, quick drying, and a clear film that won’t yellow over time. Still, it has a handful of weak spots, and shellac happens to patch every one of them:
- Raises grain less when applied over a sealed surface. Shellac locks down the wood fibers first, so the poly coats that follow lay on noticeably smoother.
- Prevents blotching on woods that absorb finish unevenly, think pine, cherry, birch, maple.
- Blocks tannin bleed from oak, mahogany, or walnut, species that can otherwise muddy up a light water-based finish with brownish discoloration.
- Adds warmth and depth. Straight water-based poly can look flat, even a little plasticky, on bare wood. A shellac wash underneath gives the grain a richer, deeper tone before the clear coat ever touches it.
- Dries in 20 to 30 minutes, which means you can sand and recoat in the same afternoon.
Why It Must Be Dewaxed
Natural shellac flakes carry roughly 3 to 5 percent wax, a leftover from the lac bug secretion they’re made from. That wax causes no trouble under oil-based finishes or wax topcoats. Under water-based polyurethane, conversion varnish, or most catalyzed finishes, though, it leads to real adhesion failure.
Stick with dewaxed shellac, sold as:
- Zinsser SealCoat (pre-mixed, 2-lb cut, dewaxed)
- Shellac flakes labeled “dewaxed” (blonde, super blonde, or garnet), mixed yourself with denatured alcohol
If the label doesn’t say “dewaxed” in plain words, assume it still has wax in it and skip it for a waterborne topcoat.
How to Apply Dewaxed Shellac as a Sealer
- Sand the raw wood to 180 to 220 grit and clear away all the dust.
- Thin the shellac down to a 1-lb cut (2 parts of a 2-lb cut shellac to 1 part denatured alcohol, or just cut SealCoat 50/50 with alcohol). A thinner mix keeps you from building a thick, plastic-feeling layer, and it sands far more easily afterward.
- Apply one thin coat using a natural bristle brush, a foam brush, or a clean cotton rag. Move with the grain in long, even strokes. Don’t go back over wet shellac trying to fix a spot, it dries fast, and reworking it just leaves lap marks.
- Let it dry 30 to 60 minutes. It’ll feel dry to the touch within minutes, but give it the extra time before you pick up sandpaper.
- Sand lightly with 320-grit paper or a fine sanding sponge, just enough to knock down any raised grain and nibs. You’ll see a fine white dust coming off, that’s expected; it means you’re sanding the shellac layer, not the wood underneath.
- Wipe the dust off with a tack cloth or a slightly damp microfiber cloth.
- Apply your water-based polyurethane, following whatever recoat window the manufacturer lists, usually 2 to 4 hours after you’ve sanded the sealer coat.
Common Mistakes to Avoid
- Using waxed shellac. This is the big one, and it tends to show up weeks or months later as peeling, fisheyes, or a cloudy adhesion failure that’s a pain to fix after the fact.
- Piling on too many coats of shellac. One thin coat usually does the job as a sealer. Go past two and you risk a film so thick the poly can’t properly key into it.
- Skipping the scuff-sand step. Water-based poly needs a little mechanical grip to hold on. Shellac dries glass-smooth, so it has to be lightly roughed up first.
- Mixing up old shellac. Once dissolved in alcohol, shellac is good for about a year (premixed cans list a “mixed on” date for this reason). Past its prime, it can stay tacky indefinitely and never fully cure.
- Laying it on too thick. Leads to drips, trapped bubbles, and a slow, patchy dry.
Does It Affect Color or Clarity?
Even “blonde” or “super blonde” dewaxed shellac carries a faint amber cast, enough to warm up a pale wood like maple or ash. If you’re after a perfectly neutral, glass-clear look, test it on a scrap piece first. On white woods especially, that underlying amber tone can show through the clear poly topcoat. On medium to dark woods like oak, walnut, or cherry, that same warming effect usually works in your favor and makes the finish look richer.
Final Thoughts
Dewaxed shellac is about as reliable a sanding sealer as you’ll find for use under water-based polyurethane. It seals the pores, keeps blotching and tannin stains in check, dries quickly, and sands down beautifully, all without hurting the topcoat’s adhesion, as long as you’ve confirmed it’s dewaxed and you keep the coat thin. For furniture, cabinets, and floors where you want shellac’s richness paired with waterborne poly’s durability, this two-step approach gets you a finish that looks professional and holds up for years.