Salvaging a Bowed Walnut Slab Without Losing Too Much Thickness
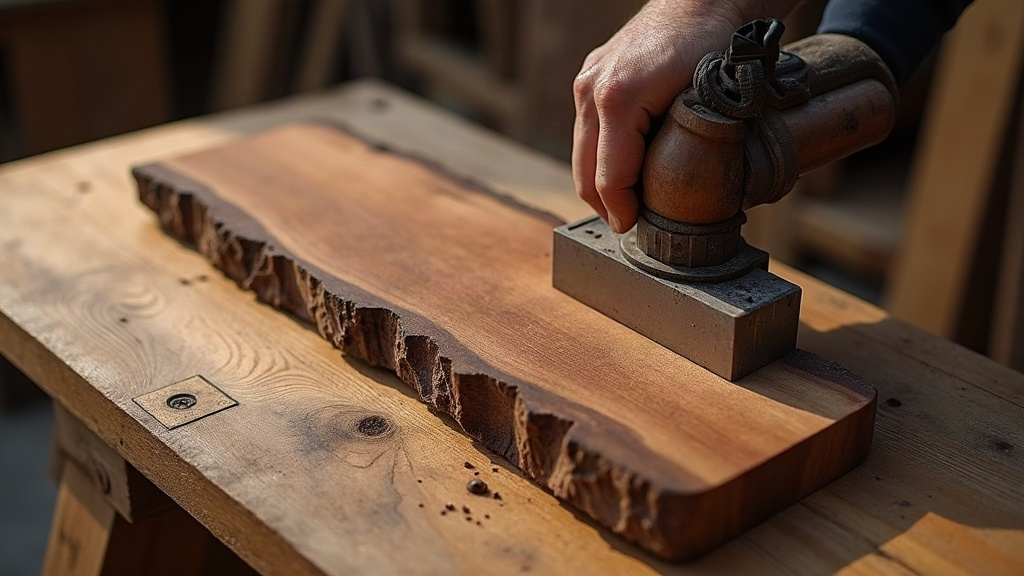
A bowed walnut slab doesn’t have to end up as firewood. Get the moisture right, clamp it correctly, and mill with a plan, and you can flatten most bows while keeping the bulk of your slab’s original thickness. Below is the same process pro slab furniture makers use when they’re trying to save an expensive board instead of turning it into kindling.
Why Walnut Slabs Bow in the First Place
Walnut looks gorgeous on a table, rich color, wild grain, but it’s also one of the more temperamental species when it comes to drying. A bow (that lengthwise curve running along the face) usually traces back to one of these:
- Uneven moisture loss. One face dries faster than the other. The faster-drying side shrinks more, and the slab pulls itself into a curve.
- Grain orientation. Boards cut close to the pith, or with grain that runs out irregularly, warp more easily than straight-grained material.
- Improper stickering. Skip the weight, space your stickers unevenly, or let the pile sag, and the slab will cup and bow as it dries.
- Reaction wood. A tree that grew on a lean develops tension and compression wood. Once you mill it, that stored stress lets go, and often unevenly.
Figuring out which one you’re dealing with matters a lot. A moisture-driven bow can usually be corrected with almost no material loss. A stress-release bow from reaction wood is a tougher fight and often demands heavier milling.
Step 1: Check Moisture Content Before You Touch a Tool
Don’t grab the planer yet. Take a moisture meter (pin or pinless, doesn’t matter much here) and check several points along the slab’s length. If the bow is a drying problem, controlled re-equalization can fix a surprising amount of it:
- If one face reads noticeably wetter than the other, sticker the slab flat, load it with even weight, and let it sit in a stable-humidity space for a few weeks.
- Flip or rotate it periodically so both faces get similar airflow exposure.
- Here’s a number worth remembering: a bow of 1/4” to 1/2” over an 8-foot slab will often relax 30-50% just from proper re-equalization, before you’ve removed a single shaving.
Step 2: Try Mechanical Correction First
This step is free thickness. Literally, you’re not cutting anything away, just persuading the wood back into shape.
- Weighted clamping. Lay the slab bow-side down on something flat and rigid (a torsion box, a concrete floor, whatever you’ve got) and pile on heavy, evenly distributed weight. Check it every few days over a 1-2 week stretch.
- Strong-back bracing. Clamp or screw a straight, rigid batten (steel angle or laminated hardwood works well) across the width at intervals, then tension it to pull the bow flatter. Pair this with a little moisture adjustment and it works even better.
- Kerf-and-wedge technique. For a bow that just won’t quit, cut a few shallow relief kerfs across the concave face (perpendicular to the bow) and glue in shims. Done carefully, this can permanently correct the curve without milling the whole face down. It’s a more advanced move, save it for slabs where every sixteenth of an inch of thickness counts.
Mechanical correction doesn’t fix every bow. But when it works, it’s hands-down the best way to protect expensive, figured wood from the router bit.
Step 3: Mill With a Minimal-Loss Strategy
Still bowed after moisture management and clamping? Time to mill, but you can still be smart about how much you remove.
- Use the widest router sled bit or CNC flattening bit you can control. A wider bit means fewer passes, and fewer passes means less temptation to “chase” the bow and over-cut.
- Set your rails to the highest points of the bow, not the average. This way you’re only removing what’s necessary, not skimming the whole face down to match the lowest point.
- Flatten one face, then flip. Once that first face is true, the slab will often relax further on its own, which can shave down how much you need to take off the second side.
- Take shallow passes, 1/16” to 1/8” at a time, instead of one aggressive cut. This lets internal stress release gradually rather than triggering new movement mid-mill.
- Check flatness between faces. After milling side one, clamp it flat and let it sit for 24-48 hours before flipping. Any spring-back shows up now, before you’ve committed material on the second face.
How Much Thickness Should You Expect to Lose?
For a moderate bow (under 1/2” over 6-8 feet), moisture correction plus careful sled work typically costs 1/8” to 1/4” total across both faces combined. Compare that to the 1/2”+ you’d lose flattening blind to the worst point, and the difference is real money in figured walnut.
Severe bows (over 3/4”) are a different story. These often need aggressive milling and may never reach a usable thickness for a tabletop. At that point, resawing into two thinner slabs, or repurposing the wood for smaller panels, is usually the smarter call.
Final Tips for Long-Term Stability
- Finish both faces, yes, even the underside nobody sees. It slows future moisture exchange and cuts your risk of the bow creeping back.
- Store finished slabs flat, evenly supported. Leaning them on edge invites trouble.
- For furniture builds, breadboard ends or metal battens will help resist seasonal movement down the road.
Conclusion
A bowed walnut slab is rarely a lost cause. Diagnose whether moisture or grain stress is the culprit, try mechanical correction before you cut anything, and mill in shallow passes referenced off the high points. Do that, and most slabs will flatten while giving up only a fraction of their thickness. Honestly, patience is the real trick here: let the wood equalize and relax between each step, and you’ll keep both the material and the value you paid for.