Locating and Removing Hidden Nails from Reclaimed Oak Barn Wood Safely
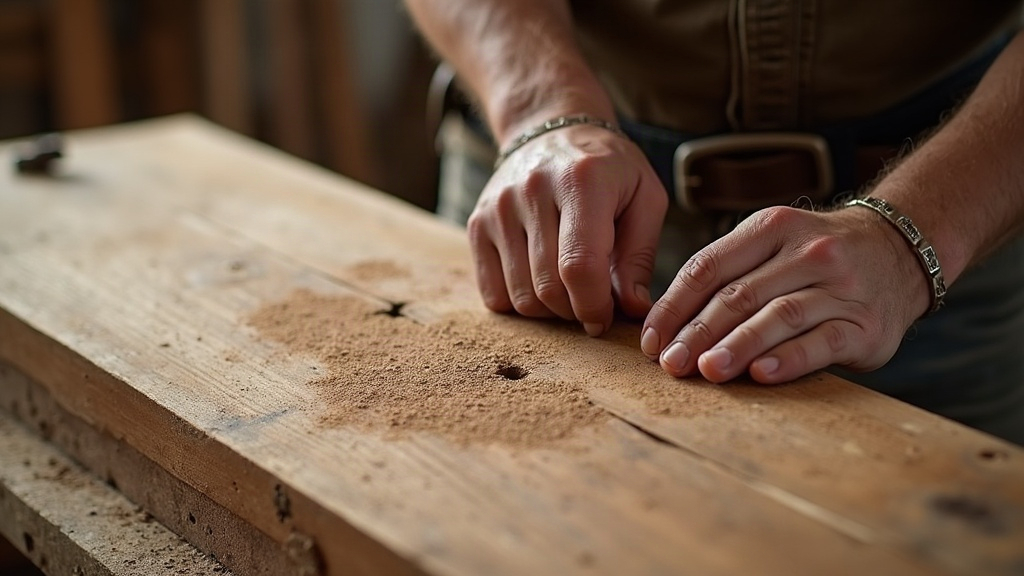
Finding and Removing Hidden Nails in Reclaimed Oak Barn Wood
Reclaimed oak barn wood has a character new lumber simply can’t fake: weathered grain, old saw marks, the kind of patina that only comes from decades sitting in a hayloft or dairy barn. But that history comes at a price. Buried in those fibers you’ll often find nails, staples, and random metal fragments left behind by generations of farmers who weren’t exactly keeping inventory. Finding and removing that embedded metal safely isn’t optional. It’s the first real step before you cut, plane, or sand a single board. Skip it and you’re looking at a ruined planer blade at best, a kickback injury or an ER visit at worst.
Why Hidden Nails Are So Common in Barn Wood
Most barns were built, patched, and rebuilt over a span of 50 to 100 years or more, often by whoever was around with whatever fasteners they had in the truck bed. The usual suspects:
- Square cut nails from pre-1900s construction, usually rusted through and brittle enough to crumble
- Wire nails added during later repairs, sometimes decades after the original build
- Fencing staples, left over from wire strung across boards for livestock pens
- Broken nail tips, snapped off flush with the surface and completely invisible until your blade finds them
Oak is dense. That density means a nail can get driven in deep without splitting the board, so there’s no telltale crack to warn you. Add rust turning the nail head the same gray-brown as the weathered wood, and you’ve basically got camouflage.
Step 1: Visual Inspection First
Before you touch a single tool, slow down and run your hands over every board.
- Drag a gloved hand across the surface, feeling for raised bumps or small dips
- Watch for dark rust “halos” or black staining rings, a classic sign of a nail hiding just under the surface
- Pay close attention to corners, edges, and old joint lines, these get nailed more than anywhere else
- Flip every board over. Builders often drove nails from the backside, and that’s the side people forget to check
This catches the easy ones. It won’t catch everything though. Oak’s grain is tight enough to hide a nail with zero visible clue on the surface.
Step 2: Use a Metal Detector (Don’t Skip This)
If you only do one thing right, make it this. A handheld metal detector or a wood-specific nail finder is the single most important tool in the whole process, full stop.
- Dedicated wood metal detectors (a Garrett Pro-Pointer or a purpose-built nail finder wand) are fast, sensitive, and made exactly for this
- General-purpose metal detectors work fine if you crank the sensitivity up
- Stud finders with a metal-detection mode are weaker but fine as a backup check
Sweep the entire board, top, bottom, edges, and end grain. Nails get driven at angles more often than you’d think, so a straight pass down the middle isn’t enough. The second you get a hit, mark it right there with chalk or a pencil circle. It’s easy to forget where a signal came from five minutes later.
Step 3: Removing the Nail Safely
You found it. Now don’t just saw through the marked spot and hope for the best, that’s exactly the mistake this whole process is meant to prevent.
- For protruding nails: grip with pliers or a cat’s paw pry bar and pull straight out, bracing the wood underneath so it doesn’t split.
- For flush or sunken nails: if there’s clearance behind the board, use a nail set and hammer to drive it the rest of the way through. No clearance? Drill around it with a slightly oversized bit and pull the loosened nail with pliers.
- For broken-off or headless nails: chisel or drill carefully around the fragment, then lift it out with needle-nose pliers or a magnetic retrieval tool.
- For rusted, brittle nails: soak with penetrating oil first and go slow. Brittle nails snap under pressure and leave a fragment behind, which puts you right back at square one.
Glasses and cut-resistant gloves, every time. A rusty nail edge or a stray splinter is a real tetanus risk, not a theoretical one.
Step 4: Re-Scan After Removal
Pull the visible nail, then run the detector over the whole board again. It’s surprisingly common to find a second nail an inch or two away, especially on boards that got reinforced or patched more than once over the years. A board isn’t “clean” until it passes a full sweep with zero hits. Not one hit, zero.
Protecting Your Tools Downstream
A single missed fragment can:
- Chip or outright destroy a planer or jointer knife (and those aren’t cheap to replace)
- Trigger dangerous kickback on a table saw
- Ruin a router bit the instant it makes contact
Professional reclaimed wood shops often run boards through a dedicated metal detector conveyor before any machining touches them. If you’re processing a lot of board footage, that kind of setup pays for itself fast.
Quick Safety Checklist
- Inspect visually and by touch first
- Scan with a metal detector, front and back
- Mark every hit before removing anything
- Pull nails with pliers, nail sets, or careful drilling, never force a saw through a marked spot
- Re-scan after every extraction
- Keep gloves and eye protection on the whole time
Conclusion
Reclaimed oak barn wood rewards patience, and this step is where that patience pays off. Taking the time to properly find and remove hidden nails protects your tools, your project, and above all your hands. A careful visual check paired with a reliable metal detector sweep, repeated after every removal, is the most dependable system there is for prepping barn wood that’s ready to become furniture, flooring, or that accent wall you’ve been planning.